
Our Expert’s Guide to Proper Dryer Vent Maintenance
When you buy a house, certain things may not come to mind immediately, like proper roof and/or dryer ventilation. Whereas improper roof ventilation can cause problems like ice dams and roof rot, a clogged dryer vent can literally transform your investment into a pile of smoldering ash.
In fact, clogged dryer vents are one of the leading causes of house fires, and is one of the most sorely neglected parts of homeownership. The approach you take will be different depending on your own dryer ventilation setup, but the general premise remains the same: periodically clean your dryer vent from beginning to end to prevent a house fire.
What You Need to Properly Clean Your Dryer Vent
Although the work itself tends to be cramped and humid, you really only need one thing to clean a dryer vent: a vent cleaning kit. These can be found at your favorite retailer, and typically consist of a brush and interlocking rods to lengthen the handle. The point of this brush is to reach up into the dryer vent pipe as far as it can go to dislodge any stuck lint.
You will also need some hand tools to loosen the dryer vent cover and piping behind the dryer. If you have a gas-powered dryer, be sure not to disturb the gas line. If at any point you are unsure, please contact a professional before attempting to move your dryer.
Step-by-Step Guide to Proper Dryer Vent Cleaning
Now that you have your tools, it’s time to clean your dryer vent.
Step One: Unplug and Disconnect Your Dryer
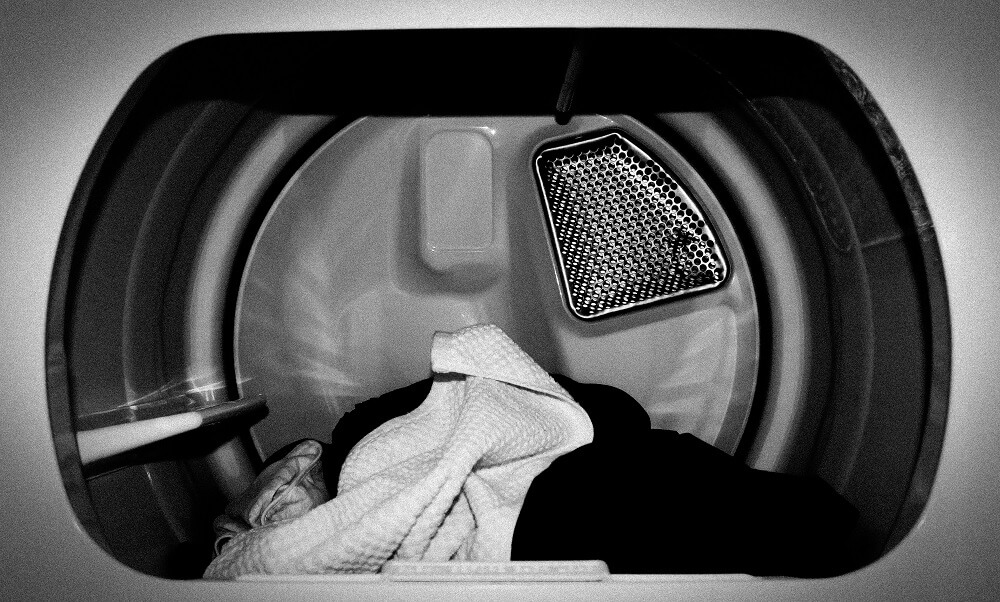
Before attempting to move your dryer, be sure to unplug its power cord and disconnect the piping that connects the dryer to the ductwork on both sides. Not doing so poses an electrical hazard as well as damage to your appliances. Once all of this is complete, use the brush to clean the vent pipe behind the dryer, as well as the piping and ductwork.
Step Two: Remove Your Dryer Vent Cover
Dryer vents typically terminate on an outside wall near the ground. Whether you have a standard wall vent or one with moveable louvers, be sure to remove it from the ductwork for a thorough cleaning with your brush. Inspect the dryer vent for any damage and replace if necessary.
Once the cover is removed and cleaned, it’s time to clean the pipe that ultimately leads into the back of the dryer. Add as many extenders as necessary to reach all the way inside until the pipe bends.
Step Three: Reassemble Your Dryer and Dryer Vent
Follow these steps in reverse order to reassemble your dryer.
Step Four: Test Your Dryer
If your dryer vent has moveable louvers, turn on your dryer and ensure that the louvers open when hot air is moving through. When cleaning a dryer vent, lint can sometimes become trapped in the ductwork, typically at a bend. If no hot air is present, disassemble and try again.
Final Words about the Importance of Dryer Vents
Short of saving you the financial and emotional headache of losing your home in a fire, proper dryer vent maintenance may also breathe new life into your appliances. If you find that your once efficient dryer is taking longer to dry clothes, a clogged dryer vent is likely to blame.
Depending on your volume of use, dryer cleaning maintenance should occur every 3-6 months.